Canoe creek to colo river
Wollemi National Park is an epic wilderness where you can explore rugged terrain and scenic beauty. We recently went on a hike to the Colo River and Canoe Creek, and it was an exciting and challenging journey. Here’s what happened:
Total trip stats
Distance: 24 km
Elevation: 1200 m
Coordinates of the start of the trail: -33.271087, 150.590963
Night 1 (14/04/2023)
Arriving and Setting Up Camp
We got to Grassy Hill Fire Trail on Friday night, parked up at the end of the trail, and set up camp in the parking. The drive there was a bit bumpy, so you need a high car, preferably a 4WD.
After setting up camp, we hung out around the campfire, had some freeze-dried meals and wine, and got ready for an early start the next morning.
Day 1 (15/04/2023)
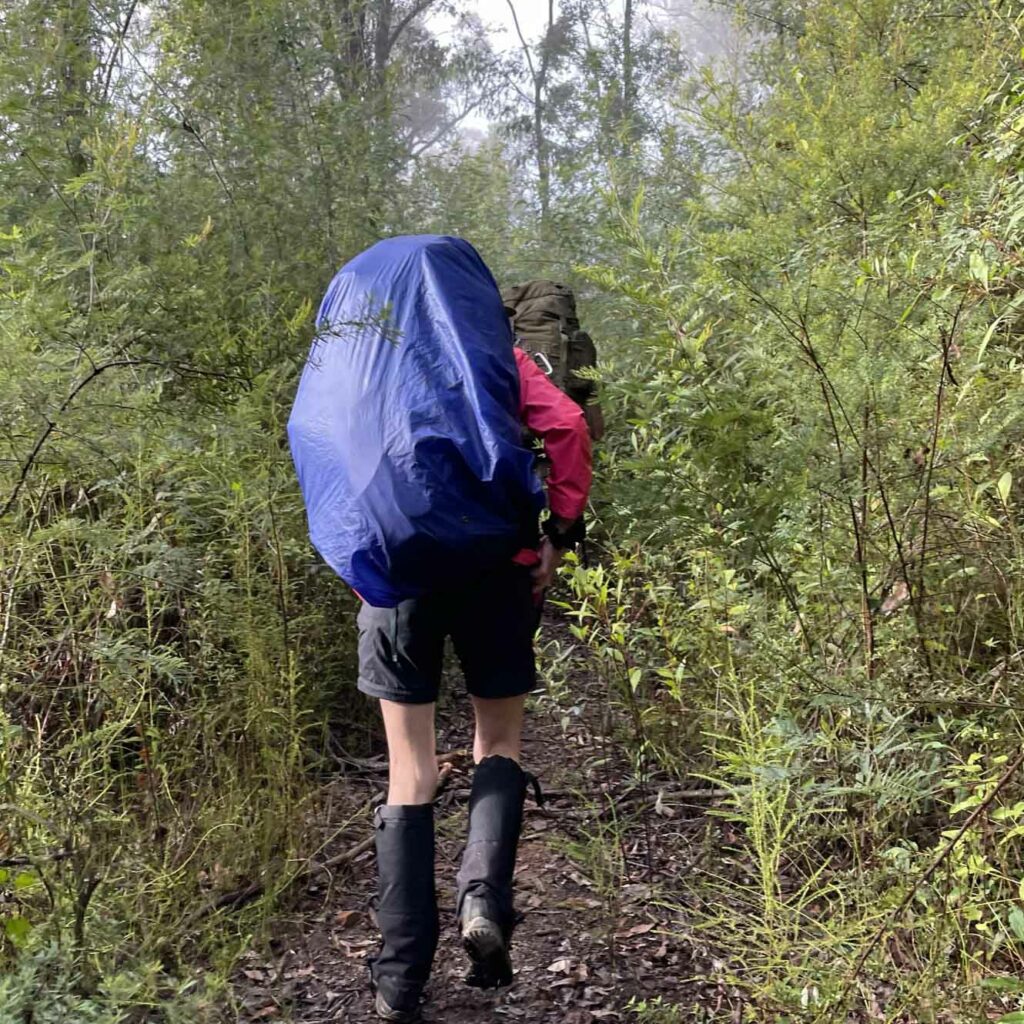
Hiking Down Canoe Creek Track
We woke up to heavy mist and the sound of rain on our tents, but it was just water dripping from the trees. We packed up our tents, had a quick breakfast, and set off around 7:30 am. The trail was 3.5 km long, and it went down 300 meters to the junction of Colo River and Canoe Creek. The first 1.5 km was flat but overgrown and full of leeches. We took a break at a campsite along the way, and the rest of the trail was more challenging, with slipper, steep and rocky sections. We followed rock cairns to guide us towards the junction.
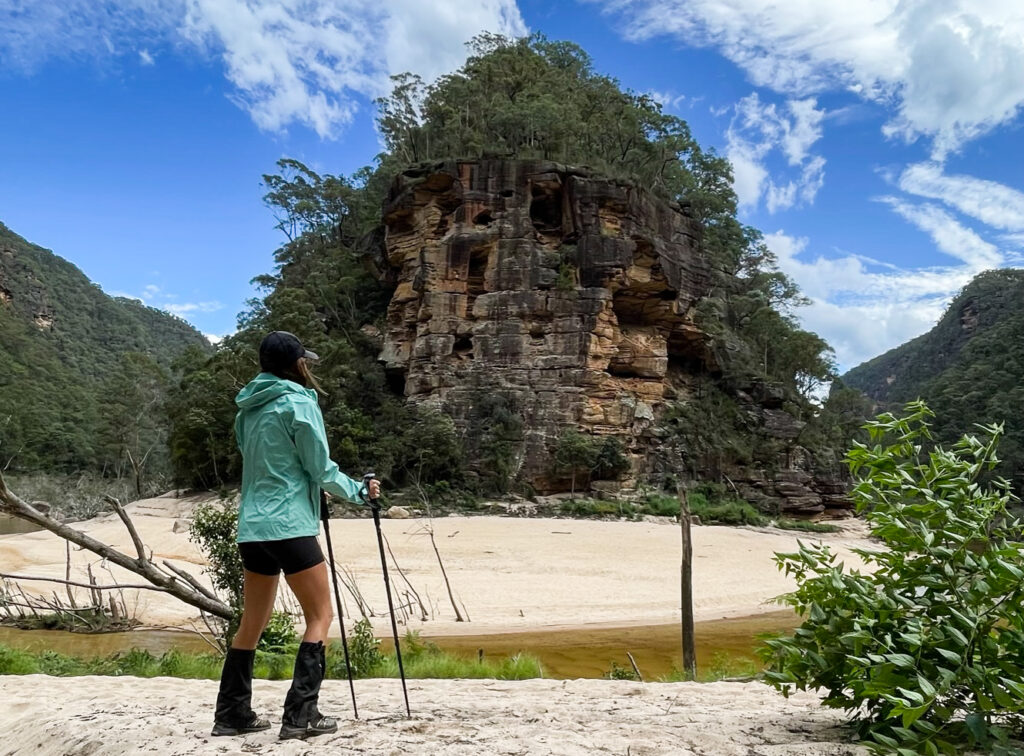
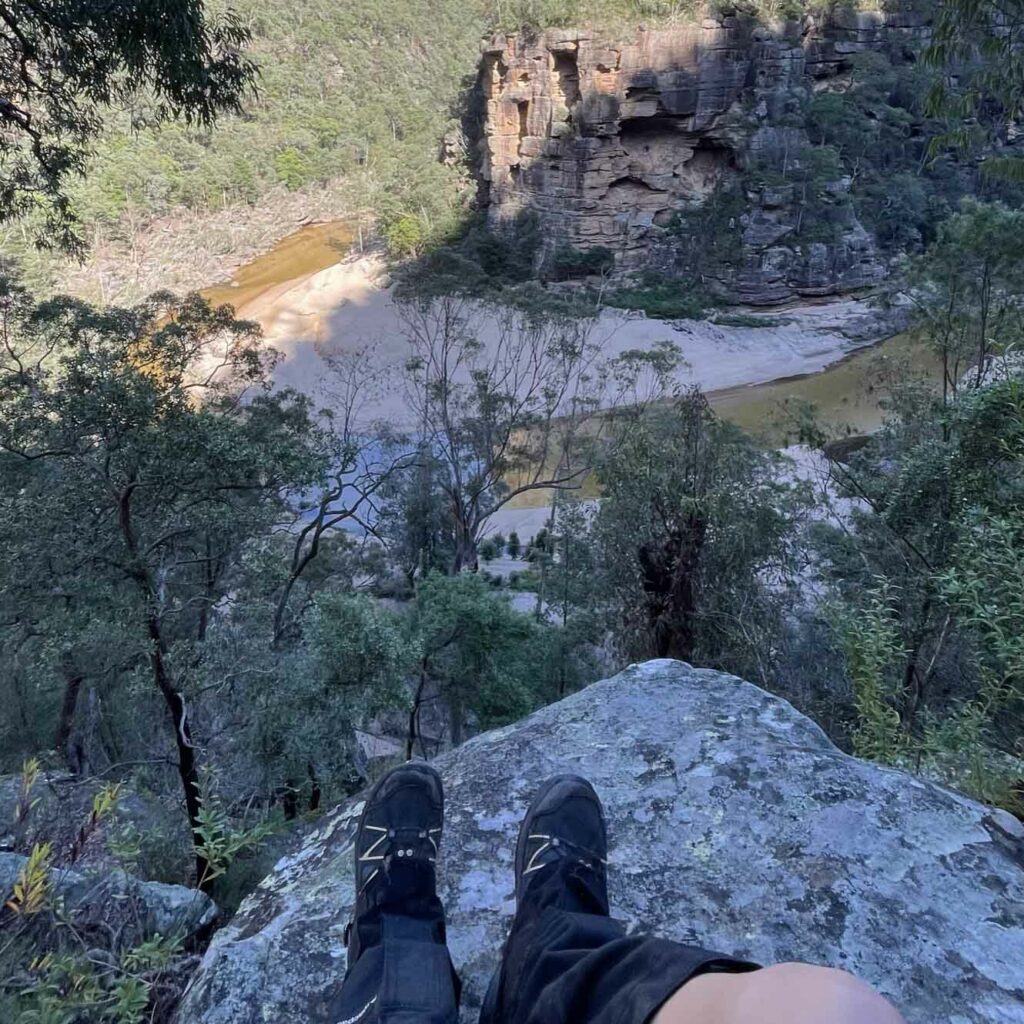
Right before the last descend, we took a little side trip to the right and had an awesome view of where Canoe Creek meets the Colo River from up high. Then we went off the main trail and made another detour to check out the camp cave, a remarkable natural formation that overlooks the junction and serves as an ideal camping spot.

Hiking Upstream from the Colo River
After a short break, we put on our water shoes and started hiking upstream from the Colo River. The hike was tricky as the water looked shallow, but there were some sudden knee-deep drops and quicksand here and there. We had to navigate through boulders, rocks, vines, and tree branches. At times, we had to walk back in the water to get past cliffs.
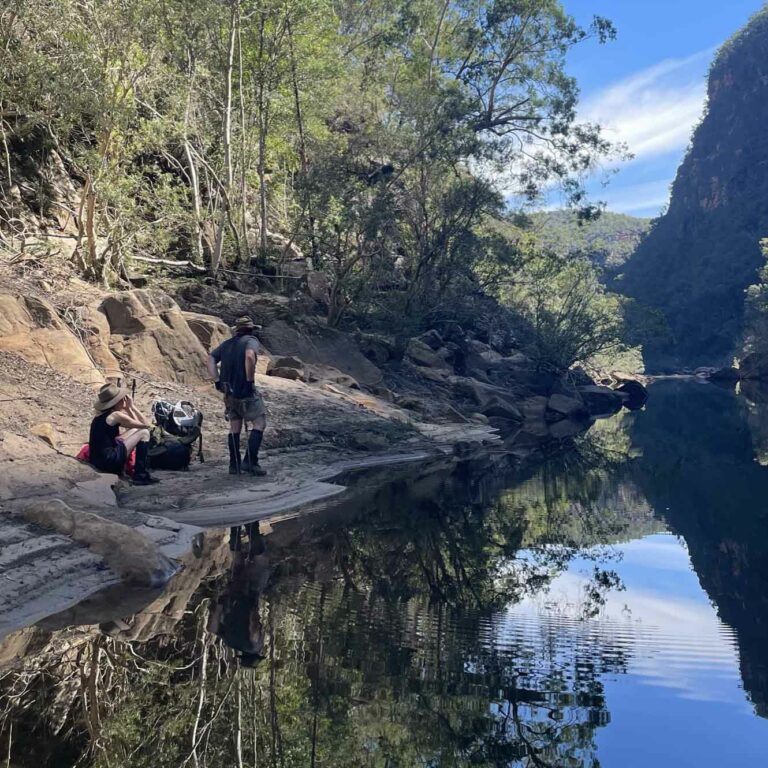
We stopped for lunch on a scenic rock, where we could see the Colo River and the scenery.
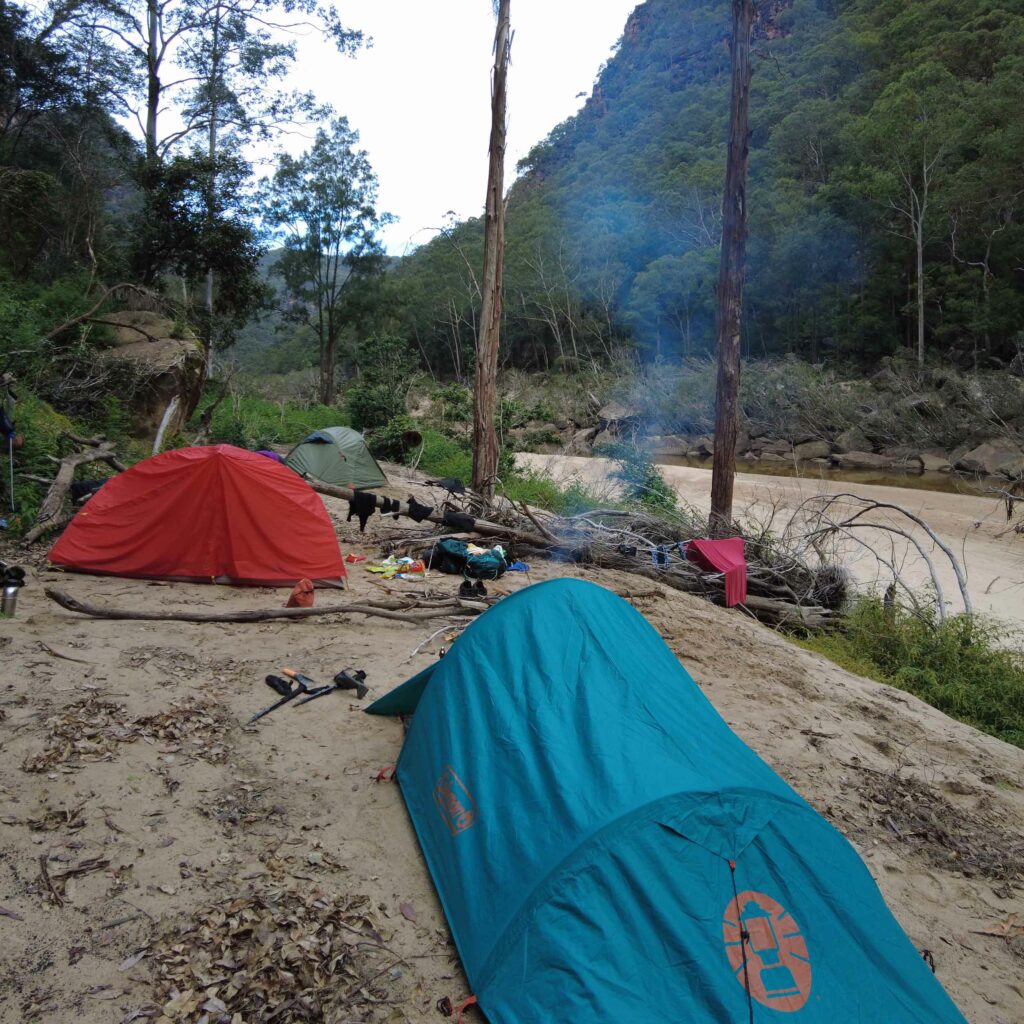
After lunch and a quick swim, we continued hiking for about 4 km where we found a nice flat spot to camp for the night.
Our original plan was to proceed further 2km to a campsite where we were looking for some special engravings, but due to the challenging terrain and the time taken to reach where we were, we decided to stay and relax for the rest of the day.
We had a relaxing evening swimming, having a campfire, and listening to nature. We heard some noises that sounded like boulders falling during the night.
Day 2 (16/04/2023)
Hiking Back to the Carpark
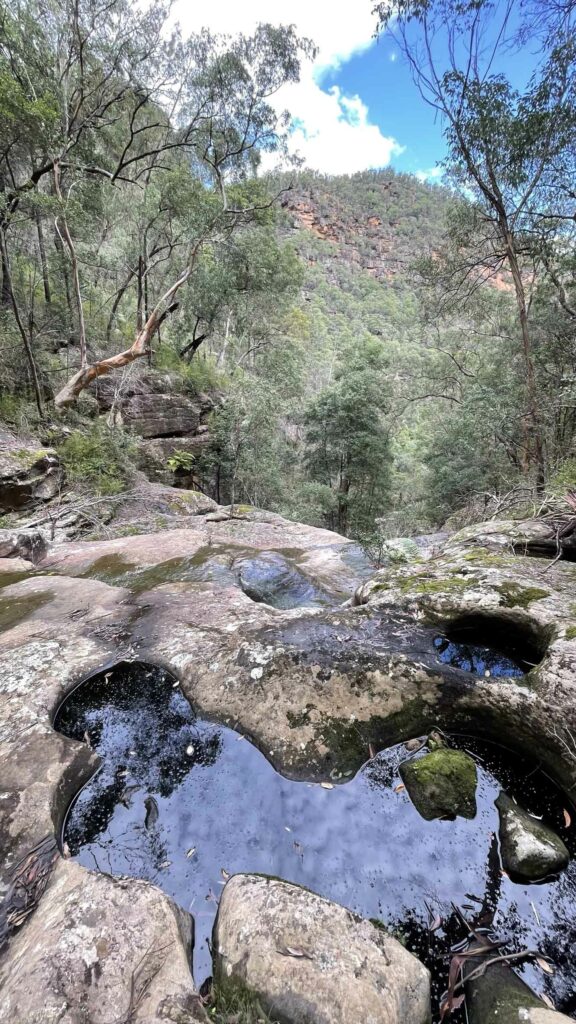
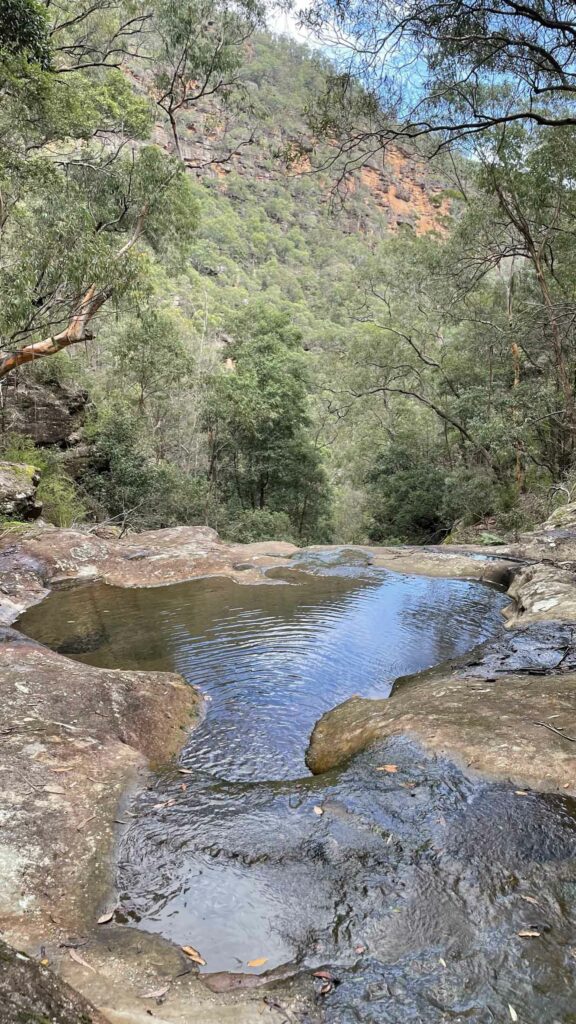
We woke up to the sound of Lyrebirds and had breakfast before packing up camp and hiking back the same way we came. The hike back was easier as we were more familiar with the terrain, and we stopped at the Colo River and Canoe Creek junction for lunch and a swim before heading up the steep hike back to the carpark. We first went to check out the waterholes and waterfall sourced from Canoe Creek before starting the ascent. The hike back up was very challenging, with a very steep and slippery climb for about 2 km and took us almost 3 hours to get back to the carpark.

After hiking 24 km and climbing 1200 meters, we finally got back to the car. It was a tiring but fulfilling journey, and we felt accomplished and grateful for the beauty of Wollemi National Park.
Tips on what essentials to pack:
I would like to think that I packed smarter for this trip compared to my previous overnighters. On day 1, my pack weighed 14kg, which included 2.5L of water for the first day’s descent. I made an effort to pack as lightly as possible since we were expecting a lot of steep ascents and descents.
Backpack:
When it comes to overnight hikes, I rely on my Osprey Ariel 55L backpack, which is size M. It’s important to choose a pack size based on your torso length, and in the link provided, you can find a guide to help you select the perfect size for you. The adjustable design of Osprey packs allows for a customized fit, ensuring optimal carry performance on the trail.
Tent:
I always bring my trusty Coleman Ridgeline Adventure Tent on my trips – it’s a 3-season, 2-person tent that weighs just 1.7 kg, making it perfect for backpacking. Its lightweight design makes it easy to carry, while its easy-to-set-up structure ensures that I can set up camp quickly and efficiently. I opted for a 2-person tent to ensure that I have enough space for myself and my gear inside the tent. This tent has never let me down, even during heavy rain. It’s a reliable and durable option that has kept me safe and dry no matter the weather.
Sleeping Bag and mattress:
I absolutely love my Sea to Summit Journey Dawn sleeping bag – it keeps me warm and cozy all night long, even in chilly temperatures. The best part is that it’s incredibly lightweight and packs down to a very small size, making it easy to carry on multi-day hikes. With this sleeping bag, I can rest easy knowing that I’ll be comfortable and warm no matter where my adventures take me. I use the Forclaz Trek 700 Long Trekking Air mattress for my overnight hikes. It’s compact and has silicone patches on the top to prevent my sleeping bag from sliding around during the night.
Liner:
I also bring along a Sea to Summit liner on my trips – not only does it keep my sleeping bag clean, but it also adds an extra layer of warmth when I need it. Plus, on hot nights, I can use it on its own as a lightweight and breathable sleeping option. It’s a versatile addition to my gear that I never leave home without.
Jetboil:
My Jetboil has become a staple item in my gear collection – I even bring it along on day hikes! It can boil water in under 2 minutes, making it perfect for enjoying a cup of tea or coffee next to a waterfall, or quickly preparing a hot meal from freeze-dried ingredients. It’s lightweight and easy to use, and has quickly become one of my go-to items for any outdoor adventure.
Food:
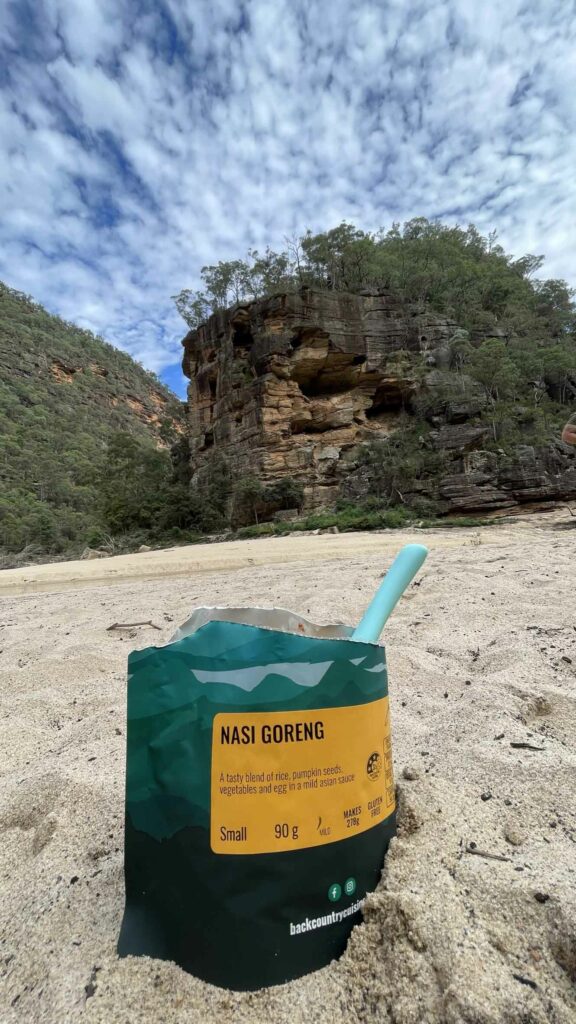
On this hike we relied on Backcountry freeze-dried meals. I packed 4 main meals (2 dinners and 2 lunches), 2 breakfasts, and one banana smoothie. My main meals were Roast Lamb and Vegetables, Nasi goreng, Spaghetti Bolognaise and Moroccan Lamb. Backcountry Cuisine offers a great selection of breakfast, mains, desserts, snacks, and smoothies, making it a fantastic option with something for everyone. There are two sizes of small and regular. I also brought trail mix and protein bars for snacks.
My other gears included Merino base layer leggings and tops, rashies, extra socks and undies, quick-dry shorts, a microfiber towel, Reefwalkers (water shoes), dry bags for my electronic gear and sleeping bag, power bank and camera gear, water purification tablets, first aid kit, a headlamp, hydration bladder, an extra water bottle, a cup, cutlery, paper plates, PLB, GPS, Jetboil gas, trekking poles, sanitary pack, toilet pack, tea bags, painkillers, and personal medications.
Please note that some links included in this post may be affiliate links. This means that we may receive a commission or financial benefit if you make a purchase through those links. However, rest assured that we only recommend products or services that we have personally used and believe in. Any commission or financial benefit we receive from these affiliate links helps to support the maintenance of our website and the creation of new content for our readers. Thank you for your support!